If you’ve hit a brutal losing streak, run out of storage for new game releases, or are dealing with annoying Vanguard anti-cheat conflicts with other apps, you’re probably looking for how to delete Valorant from PC properly. I’ve been playing Valorant on and off since its release, and I’ve had to uninstall and reinstall it more times than I can count to fix weird bugs and free up space for new releases, so I know exactly what works and what doesn’t. Most players make the mistake of just deleting the desktop shortcut or using the default Windows uninstall, which leaves tons of leftover files cluttering your drive and can cause issues down the line. This guide walks you through every step to remove the game and all associated files completely, no technical expertise required.
Why Standard Uninstall Methods Don’t Work for Valorant
First, let’s clear up why just hitting “uninstall” from your Windows apps menu won’t get the job done for Valorant. Riot’s Vanguard anti-cheat runs at the kernel level of your operating system, meaning it’s embedded deeper than most regular software on your PC. When you’re figuring out how to delete Valorant from PC, the first thing to remember is that Vanguard is a separate program that has to be removed too. Even if you delete the main Valorant game files, Vanguard will stay running in the background unless you remove it separately.
Leaving these leftover files doesn’t just take up extra storage, either. I’ve seen dozens of player reports of Vanguard conflicting with other anti-cheat software for games like Fortnite or CS2, causing random crashes or even preventing other games from launching entirely. It can also trigger false positive flags for other security software if it’s left half-installed on your system.
You don’t need to be a tech expert to remove these files, but you do need to follow the right order to avoid errors mid-process. Skipping steps can leave you with corrupted files that are even harder to remove later. Some of the most common mistakes players make during uninstall include:
How to Delete Valorant From PC Using Riot Client (Official Method)
This is the easiest, most low-risk method for most players, and it’s recommended by Riot itself to avoid file corruption. Always make sure you’re logged into an administrator account on your PC before you start the uninstall process, otherwise you’ll get permission errors that stop the process entirely. First, make sure both Valorant and Vanguard are fully closed before you start. You can check this by opening your task manager (hit Ctrl + Shift + Esc) and searching for any Riot or Vanguard processes running in the background. If you see any, right click and select “end task” for each one.
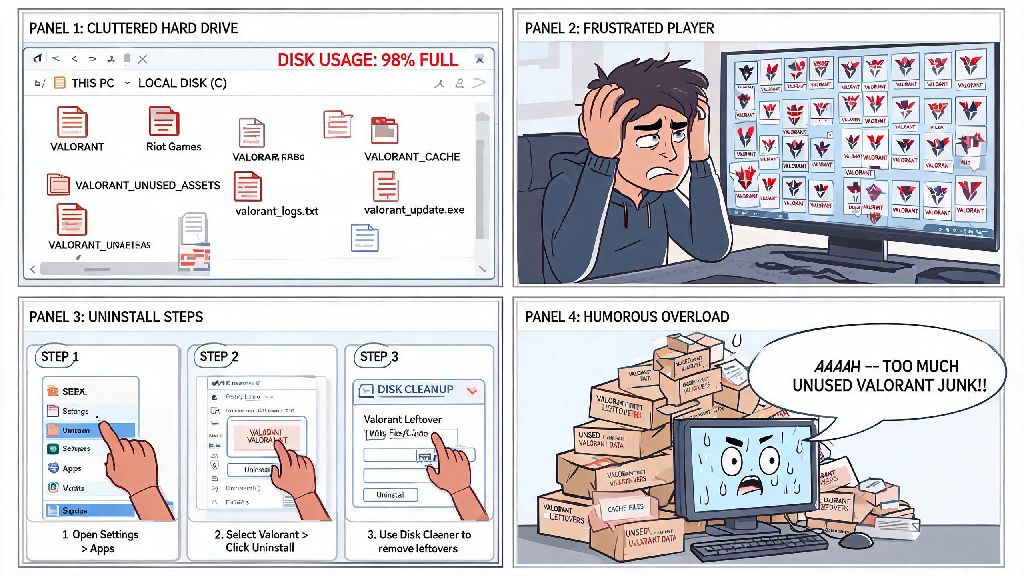
Next, open your Riot Client and click on your profile icon in the top right corner. Select “settings” from the dropdown menu, then navigate to the Valorant tab on the left side of the screen. You’ll see an uninstall option right below the game’s install information. Click that, and follow the on-screen prompts to confirm you want to remove the game.
Don’t close the Riot Client while the uninstall is running, even if it looks like it’s frozen for a minute. It’s working to remove all core game files, and interrupting it can leave broken files behind. Once the Valorant uninstall is complete, you’ll see a prompt asking if you want to uninstall Vanguard as well – select yes, unless you plan to keep playing other Riot games like League of Legends.
After both uninstalls are done, restart your PC to let the system clear any remaining temporary processes. If you only wanted to remove Valorant to free up space for a bit and plan to reinstall later, you can stop here. If you want to remove every trace of the game from your system, you’ll want to follow the manual cleanup steps next.
How to Remove Leftover Vanguard and Valorant Files Manually
Even after using the official uninstall method, there are almost always small leftover folders and cache files taking up space on your drive, especially if you’ve had the game installed for a year or more. These files include old match replays, custom crosshair settings, and temporary Vanguard update files that the official uninstaller skips. If you’re uninstalling to fix a recurring game bug, removing these files is extra important, as corrupted settings are often the root cause of random crashes or launch errors.
First, navigate to your main system drive (this is almost always your C: drive) and open the “Program Files” folder. Look for two folders: one labeled “Riot Vanguard” and one labeled “Riot Games”. Open the Riot Games folder first, delete the Valorant subfolder inside, then go back and delete the Riot Vanguard folder entirely. You may get a prompt asking for administrator permission – click yes, since these are system-level files.
Make sure you don’t delete any other folders in Program Files by mistake, especially if you have other Riot games installed. If you still play League of Legends or Teamfight Tactics, only delete the Valorant subfolder inside the Riot Games folder, not the whole folder itself.
Next, you’ll want to clear your temporary files to remove any remaining cache. You can do this by typing “%temp%” into your Windows search bar and hitting enter. This will open your temporary files folder. You can sort by folder name to look for any Riot or Valorant related files, delete them, then empty your recycling bin to make sure they’re gone for good. I’ve done this cleanup on my own PC after uninstalling Valorant last year, and I freed up almost 7GB of extra storage I didn’t know I was wasting. That’s enough space for at least two smaller indie games, or a big chunk of a new AAA title, so it’s well worth the extra two minutes of work.
Troubleshooting Common Uninstall Errors
Most players won’t run into issues when following the steps above, but there are a few common errors that pop up if Vanguard is stuck running or files are corrupted. Let’s walk through the fixes for the most frequent ones, so you don’t get stuck halfway through the process. If you’re running into repeated errors when you’re trying to delete Valorant from PC, the issue is almost always tied to Vanguard running in the background.
The most common error is the “Vanguard is still running” pop-up that stops the uninstall process entirely. If this happens, go back to your task manager and look for a process called “vgc” – that’s the core Vanguard service. You might need to click “more details” at the bottom of the task manager to see it. End that process, then try the uninstall again. If it still won’t close, you can open command prompt as an administrator, type “sc delete vgc” and hit enter, then type “sc delete vgk” and hit enter. This will manually shut down and delete the Vanguard services, so you can proceed with the uninstall.
Never edit your system registry unless you know exactly what you’re doing – a lot of random guides online tell you to edit registry keys to remove leftover files, but one wrong move can break your operating system entirely. The steps we’ve outlined above are far safer and work for 99% of cases, so you don’t need to mess with the registry at all.
Another common issue is getting a “file is open in another program” error when you try to delete leftover folders. If this happens, just restart your PC first, then try deleting the folders again immediately after your system boots up, before you open any other apps. That will close any background processes that were using the files, so you can remove them easily. If you still can’t get the game to uninstall after trying all these steps, you can reach out to Riot’s support team for a custom uninstall tool. They usually provide it within 24 hours if you submit a ticket explaining your issue, and it will automatically remove all Riot related files from your system with no extra work from you.
Whether you’re taking a break from ranked play to focus on other games, or you’re done with Valorant for good, following these steps will make sure you remove every trace of the game without leaving messy files behind. Taking the extra minute to remove Vanguard and clean up leftover folders will save you from random performance issues and software conflicts later, and free up valuable storage space on your drive. Now that you know how to delete Valorant from PC properly, you can move on to installing your next favorite game without worrying about leftover clutter slowing down your system.