If you’ve ever downloaded Valorant without paying attention to the default install location, you’ve probably ended up with a cramped C drive and slow load times sooner or later. Many new players don’t realize the Riot Client automatically installs the game to your primary system drive, which fills up fast with regular patches and other game installs. This guide will walk you through exactly how to change Valorant install path without corrupting your game files or losing your saved settings, so you can free up space and get smoother performance in just a few minutes.
Prep Steps Before You Change Valorant Install Path
Jumping straight into moving files without prepping first is the easiest way to run into errors that force a full game reinstall, so take 2 minutes to go through these steps first. First, open your Riot Client settings and make a note of your current Valorant install location, so you know exactly which folder to move. Always close all Riot-related background processes before moving files, including Vanguard and the hidden Riot Client tray process, to avoid file lock errors that stop transfers halfway. Double check that your target drive has at least 50GB of free space, even if your current Valorant install is only 30GB, to make room for future patches and event content that gets added regularly. You should also back up your in-game settings by copying the Valorant config folder to your desktop, just in case something goes wrong during the move.
Two Simple Methods to Change Valorant Install Path
There are two reliable ways to move your Valorant install to a new drive, and which one you pick depends on your internet speed and how much time you have available. Both methods work for all current Riot Client versions and don’t require any third-party software to complete.
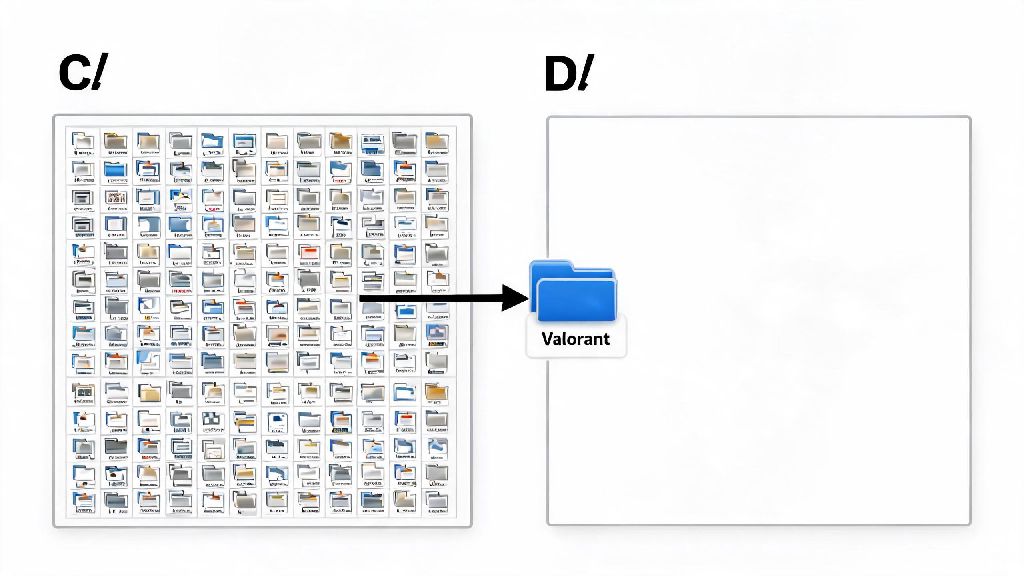
For Method 1, first cut and paste the full Valorant install folder from your old drive to the new location you picked. Open the Riot Client, go to Settings, select Valorant from the list of installed games, click “Edit” next to the install path, and select the new folder you just moved. Let the client run a quick 1-minute scan to confirm all files are present, and you’re ready to play. Method 1 is the best option for most players who don’t want to waste internet bandwidth on a full re-download. For Method 2, simply uninstall Valorant through the Riot Client first, then run the installer again and select your desired new install location when prompted.
Fixing Common Errors After You Change Valorant Install Path
Even if you follow every step perfectly, you might run into a few small errors after moving your install, and they’re almost always easy to fix without a full reinstall. The most common error is a Vanguard initialization pop-up that stops you from launching the game, which happens because the anti-cheat driver is still linked to the old file path. If you get a Vanguard initialization error, simply restart your PC once after moving the files to refresh the anti-cheat driver, and the error will go away on its own next time you launch the client. If the Riot Client says your game files are corrupted, go to the Valorant page in the client, click the gear icon, and select “Repair” to run a full file scan that replaces any missing or broken files in 5 to 10 minutes. A lot of players take a short break while waiting for file transfers or repairs to finish, instead of staring at the progress bar. Casual quick games that don’t require much focus are perfect for filling that 5-10 minute gap. Many players I know load up Jaiho Rummy for a quick round while they wait for the repair or file move to complete, since it’s light, loads fast, and doesn’t take up enough system resources to slow down the transfer process. If you still run into issues after trying these fixes, you can always fall back to the fresh install method to wipe out any lingering path conflicts.
Best Practices for Managing Your Valorant Installation Long-Term
Once you’ve moved your Valorant install to the right drive, a few simple habits will keep you from running into space or path issues down the line. First, install all Riot games (including League of Legends and Teamfight Tactics, if you play them) to the same parent folder on your target drive, to avoid path conflicts with the shared Riot Client and Vanguard anti-cheat. Never move your Valorant install folder while the game or Riot Client is running, as this can corrupt critical game files and force a full reinstall. You should also clean out old temporary patch files from your Valorant folder every 3 to 6 months, as these can take up 5 to 10GB of extra space that you don’t need to keep. If you play multiple competitive games, consider setting up a dedicated game drive separate from your OS drive to keep load times fast across all titles, and make it easier to organize all your game installs in one place. If you ever need to move the game again in the future, just follow the same prep steps we outlined earlier to avoid errors.
Moving your game files doesn’t have to be a stressful process, and knowing how to change Valorant install path is a useful skill that will save you from dealing with a full system drive and slow load times for as long as you play the game. As long as you follow the prep steps and double check your file paths before you confirm the move, you won’t run into any major issues. Next time you’re running out of space on your primary drive, you won’t have to uninstall other games to make room for Valorant patches, and you can get back to climbing your ranked ladder in no time.