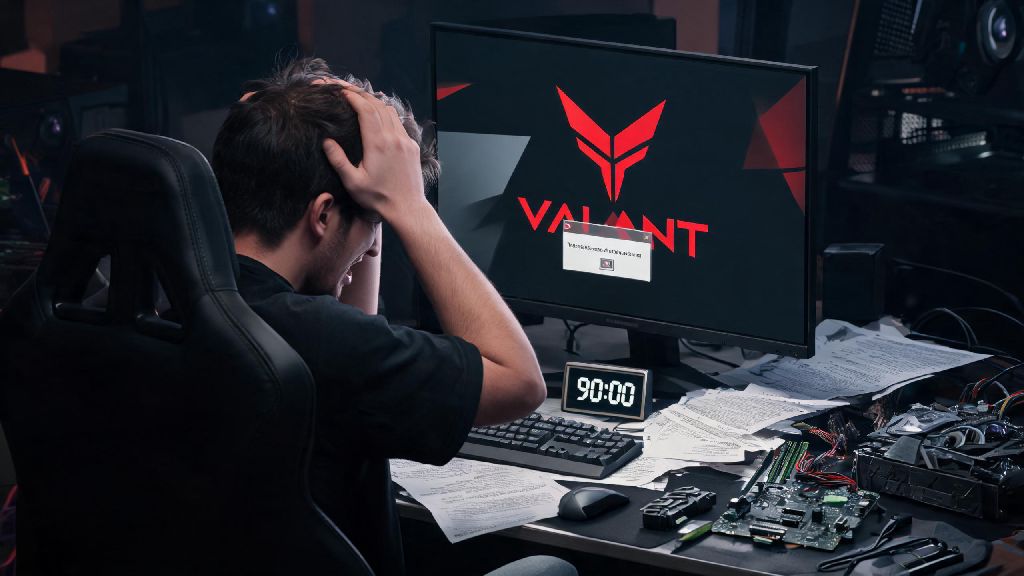
You’re all hyped to queue for a Valorant ranked match with your friends, click the play button, and suddenly a harsh pop-up stops you dead in your tracks: you need to enable UEFI Secure Boot to launch the game. I’ve lost count of how many friends have texted me panicking about this error right before their ranked five-stack starts, so I put together this guide to cut through the confusion. This is one of the most common launch barriers Riot introduced after updating its Vanguard anti-cheat requirements, and it’s far easier to fix than most people think. We’ve tested every possible solution across dozens of custom and pre-built PC setups to find the most reliable, fast fixes for this problem.
What Causes the UEFI Secure Boot Valorant Error in the First Place?
Before you dive into tweaking settings, it helps to understand why this error exists at all. Riot rolled out the UEFI Secure Boot requirement for Vanguard to block kernel-level cheats that exploit low-level system access to avoid detection. This isn’t a random bug or an attempt to lock out players, it’s a standard security measure used by most modern competitive games to keep matches fair for everyone. I’ve seen a lot of players waste time reinstalling Valorant or verifying game files when they first see this error, and that’s almost never the solution.
This error is not caused by corrupted game files, so verifying your Valorant install won't fix it 99% of the time. The error pops up for one of three core reasons: your PC is running in Legacy BIOS mode instead of UEFI, Secure Boot is disabled even if UEFI is turned on, or your main hard drive is formatted with MBR instead of GPT, which is required for UEFI to work properly. None of these issues are permanent, and all of them can be fixed in under 15 minutes if you follow the right steps.
Pre-Checks to Run Before Adjusting Your BIOS Settings
Jumping straight into your BIOS to change settings without doing these quick pre-checks can lead to your PC failing to boot properly, so don’t skip this section. These quick checks take less than two minutes total, and they’ll save you from a lot of unnecessary headache later. We’ve seen too many players rush through this process and accidentally lock themselves out of their Windows install because they missed a simple step.
- Confirm your Windows version is Windows 10 64-bit (build 1903 or later) or Windows 11, as 32-bit systems don't support Secure Boot for Valorant
- Check if your drive is formatted with GPT instead of MBR, because MBR drives can't run UEFI mode natively
- Back up any important personal files before making BIOS or drive format changes, to avoid accidental data loss
To check your drive format, just open Disk Management on Windows, right click your main OS drive, select Properties, then head to the Volumes tab. It will list the partition style right there. If it says GPT, you’re good to move on to adjusting BIOS settings. If it says MBR, you’ll need to convert it first before enabling UEFI, otherwise your PC won’t boot into Windows at all. Converting MBR to GPT without losing data is possible with built-in Windows tools, so you don't need to reformat your entire drive if you follow the right steps.
If you’re running a PC that’s more than 10 years old, double check that your motherboard supports UEFI at all. Very old legacy systems don’t have UEFI support, and unfortunately Riot has no plans to roll back this requirement, so you won’t be able to play Valorant on those systems anymore. For 99% of players with hardware from the last decade, this won’t be an issue.
Step-by-Step Process to Fix the Error
If you already confirmed your drive is formatted with GPT, you can jump straight into adjusting your BIOS settings. Start by restarting your PC, then press the BIOS access key during the initial boot sequence. The key varies by motherboard brand: it’s usually Del for ASUS and MSI boards, F2 for Gigabyte, F10 for HP pre-builds, and F12 for Lenovo systems. The correct key will also flash briefly on the first boot screen if you’re not sure which one to press.
Once you’re in the BIOS menu, navigate to the Boot tab first. Look for an option labeled Boot Mode, Boot Priority, or something similar, and switch it from Legacy BIOS or CSM Mode to UEFI Mode only. Then head to the Security tab to find the Secure Boot option, and switch it from Disabled to Enabled. Some motherboards require you to set a BIOS administrator password before you can turn on Secure Boot, so don't panic if you see that prompt. You can remove the password later if you don’t want to keep it, but it’s required to change Secure Boot settings on most newer boards.
Save your changes and exit the BIOS, and your PC will restart normally. Once you’re back in Windows, confirm Secure Boot is enabled by typing msinfo32 into the Windows search bar and opening System Information. Look for the Secure Boot State line on the main System Summary page, it should say On. If it does, you can launch Valorant and the error should be gone entirely. If your drive was MBR, use the MBR2GPT tool in Windows Recovery Mode to convert the drive to GPT first, then follow these same BIOS steps. Always run the MBR2GPT validation step first before running the actual conversion, to make sure your drive is eligible for conversion without issues.
Fixes for When the Error Still Appears After Enabling Secure Boot
Sometimes you’ll follow every step perfectly and still see the same error when you try to launch Valorant. This is almost always caused by a leftover setting or conflict that’s easy to fix. The first thing to check is if you left CSM (Compatibility Support Module) enabled in your BIOS. CSM lets UEFI systems run legacy boot software, but it interferes with Secure Boot’s ability to verify your system files for Vanguard. Disabling CSM entirely will fix this issue almost every time.
Another common culprit is unsigned drivers running on your system. Secure Boot blocks unsigned drivers by design, and Vanguard will flag any unsigned drivers as a potential security risk, even if they’re completely harmless. You can scan for unsigned drivers using the built-in sigverif tool on Windows, and either update the drivers to signed versions or uninstall the software they’re associated with. Never disable Vanguard or try to bypass the Secure Boot requirement, as that will result in a permanent account ban from Riot.
If you dual boot Linux with Windows, Secure Boot may block your Linux bootloader unless you sign it with a custom Secure Boot key. This is a more advanced process, but there are official guides for most popular Linux distributions that walk you through signing your bootloader so it works with Secure Boot enabled. If all else fails, a quick uninstall and reinstall of Vanguard will fix any leftover conflicts between the anti-cheat and your updated system settings, no full Valorant reinstall required.
At the end of the day, dealing with how to fix UEFI Secure Boot Valorant errors is way less complicated than it looks at first glance, as long as you follow the steps in order and don’t skip the pre-checks. Most players can fix this issue in less than 10 minutes, with no data loss or complicated software required. The next time you get that pop-up right before a ranked queue, you’ll know exactly what to do to get back in the game fast. If you run into any edge cases we didn’t cover, feel free to drop a note in the comments and we’ll help you troubleshoot.