If you’ve ever watched your favorite Valorant streamer pull off a 1v5 clutch and thought you’d love to share your own ranked grinds or unrated chaos with an audience, you’re not alone. Learning how to stream Valorant on OBS is one of the most accessible, low-cost ways to start building your channel, no fancy equipment required at first. I’ve helped dozens of new streamers tweak their setups over the past three years, and the biggest mistake I see is people overcomplicating the process before they even go live for the first time. You don’t need a $2,000 PC or a professional mic to start; you just need to follow a few core steps to get a smooth, watchable stream.
How to Stream Valorant on OBS: Initial Setup Walkthrough
When you first open OBS, you’ll see a blank canvas by default, which can feel overwhelming at first. But the initial setup only takes 5 minutes if you follow the built-in prompts. Start with the auto-configuration wizard, which you can access from the tools menu if it doesn’t pop up automatically. Select “optimize for streaming, recording is secondary” if you plan to only stream, or pick the dual option if you want to save local copies of your gameplay too. The wizard will run a quick test of your internet upload speed and your PC’s processing power to set baseline output settings that won’t overload your system.
Always run the auto-configuration wizard first before adjusting any custom settings, because it eliminates a lot of the guesswork that trips up new streamers. Once that’s done, you’ll need to link your streaming platform account. OBS lets you connect directly to Twitch, YouTube, Kick, and most other major platforms via your stream key, which you can find in your platform’s creator dashboard. Never share your stream key with anyone else, because it lets them stream to your channel without your permission.
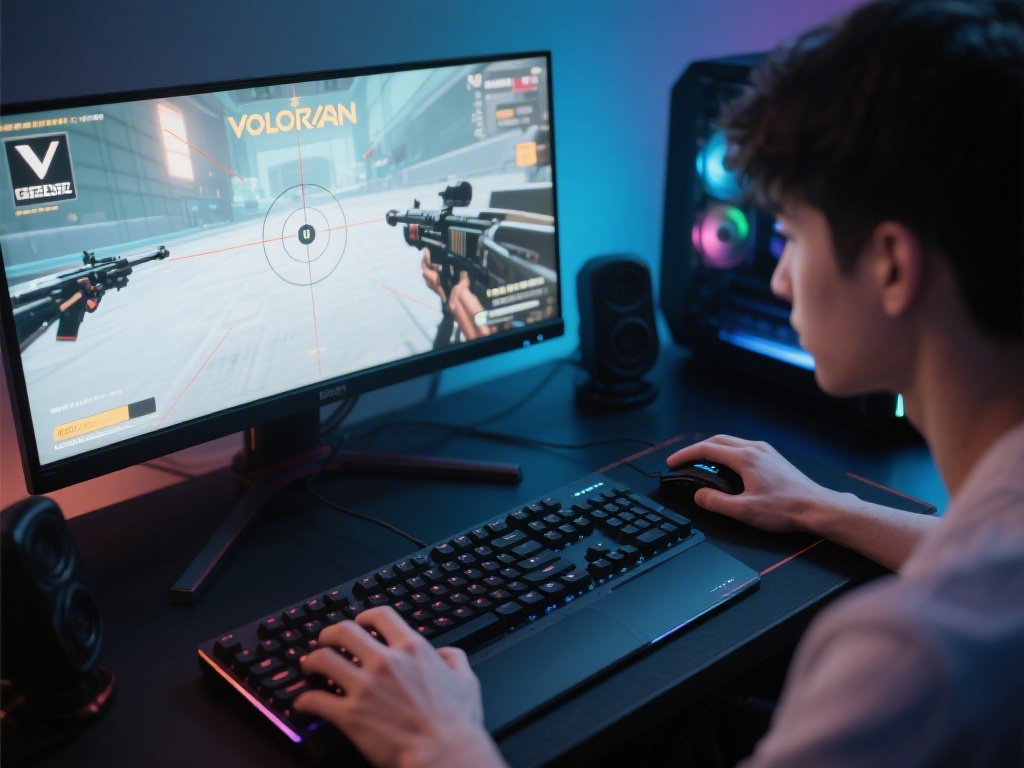
Next, you’ll add Valorant as a source. Click the + button under the sources panel, select “game capture”, name it something obvious like “Valorant Game Capture”, then select “capture specific window” from the mode dropdown, and select VALORANT.exe from the list of open windows. You have to have Valorant open for it to show up in this list, so launch the game before you complete this step. If the game capture shows a black screen, close OBS, right click the OBS icon, and select “run as administrator” before reopening it. Valorant’s Vanguard anti-cheat blocks unapproved programs from capturing the game window, so running OBS as admin fixes that issue 9 times out of 10.
Optimal OBS Settings for Lag-Free Valorant Streams
Once you’ve got the initial setup done, you’ll want to tweak a few settings to make sure your stream is smooth for viewers and doesn’t cause lag in your gameplay. First, head to the video tab in OBS settings. Set your base (canvas) resolution to match the native resolution of your monitor, so the game looks crisp on your end. For the output (scaled) resolution, drop it to 1920x1080 if you have a 1440p or 4K monitor, because most viewers still watch streams in 1080p, and scaling down reduces the strain on your GPU. If you have a slower PC or low upload speed, drop the output resolution to 1280x720 instead; 720p streams still look perfectly watchable, especially for fast-paced gameplay like Valorant. Set your common FPS value to 60 if your PC can handle it, but don’t force 60fps if it’s causing you to drop frames in game. 30fps streams are completely acceptable for new streamers, and most viewers won’t mind as long as your gameplay is entertaining.
Next, head to the output tab. For the encoder, select NVENC if you have an NVIDIA graphics card, AMF if you have an AMD card, or QSV if you’re on an Intel CPU with integrated graphics. Only use the x264 software encoder if you have a very high-end CPU (6 cores or more) and no dedicated GPU, because x264 uses a lot of processing power that you need to run Valorant smoothly. Stick to a constant bitrate (CBR) instead of variable for streaming, because it delivers a consistent stream quality that won’t drop suddenly when there’s a lot of action on screen, like during a 5v5 Ascent site push.
For bitrate, follow these general guidelines: 6000 kbps for 1080p 60fps streams, 4500 kbps for 1080p 30fps, and 3000 kbps for 720p 60fps. You can check your upload speed for free online; you need at least 1.5x your selected bitrate in upload speed to avoid dropped frames, so if your upload speed is only 5 Mbps, don’t set your bitrate to 6000 kbps. For audio settings, set your sample rate to 48kHz, which is the standard for streaming. Set your desktop audio device to your default speaker or headphone output, and your mic/auxiliary audio to your microphone. Adjust your mic level so that when you talk normally, the level meter peaks around -12dB; if it goes into the red, that means your audio is clipping and will sound distorted to viewers. Add a noise gate and noise suppression filter to your mic to cut out background hum, keyboard clicks, or dog barks without making your voice sound muffled. The default RNNoise suppression filter in OBS works great for most mics, and you can set the noise gate threshold so it only opens when you’re talking.
Must-Have Scenes and Sources for Your Valorant Stream
Now that your settings are dialed in, you’ll want to set up scenes to make your stream look polished and professional, even if you’re just starting out. Scenes are just pre-set collections of sources that you can switch between with one click, so you don’t have to add or remove elements mid-stream. You don’t need 20 different scenes to start; 4 core scenes are enough for almost any new Valorant streamer:
- Starting soon screen: A simple graphic with your channel name, a 2-5 minute countdown timer, and short text letting viewers know you’ll be live soon. You can add a quiet background track to keep people engaged while they wait for you to get set up.
- In-game screen: The core scene you’ll use most of the time, including your Valorant game capture, optional webcam feed, mic and desktop audio, and a small overlay with your social media handles or subscriber goal.
- Break screen: A graphic letting viewers know you’re stepping away for a drink, bathroom break, or to adjust your settings. You can add a loop of your best Valorant highlight clip in the background to keep people from leaving while you’re gone.
- Ending screen: A final screen you can switch to when you’re done streaming, with a call to action asking viewers to follow, subscribe, or drop a comment, plus links to your TikTok, Twitter, or Discord server.
You don’t need to pay for custom overlays to make these scenes look good. Free tools like Canva have hundreds of pre-made Valorant-themed stream templates that you can customize with your channel name and colors in 10 minutes or less, no design experience required. Avoid cluttering your in-game screen with too many widgets or alerts, because viewers are there to watch your gameplay, not see donation pop-ups covering the minimap or your crosshair during critical clutch rounds. I’ve seen streamers lose hundreds of viewers mid-stream because their alert animations take up half the screen during ranked matches, so stick to placing non-essential elements in the top or bottom corners where they won’t block important game UI. If you want to have a webcam, place it in one of the bottom corners so it doesn’t cover the Spike timer or agent ability icons at the top of the screen.
Common OBS Valorant Streaming Issues and Quick Fixes
Even if you follow every setup step perfectly, you’ll probably run into a small issue or two when you first start streaming. Most of these problems have super simple fixes that take less than a minute to implement, so you don’t have to panic if something goes wrong right before you go live. The most common issue new streamers face is OBS game capture not detecting Valorant at all, or showing a black screen instead of the game. As we mentioned earlier, the first fix is to run OBS as an administrator, because Vanguard anti-cheat often blocks non-admin programs from capturing the game window. If that doesn’t work, disable fullscreen optimizations for Valorant by right clicking the game’s desktop icon, selecting properties, going to the compatibility tab, and checking the “disable fullscreen optimizations” box.
Another common issue is dropped frames mid-stream, which means your stream is cutting out or freezing for viewers. This is almost always caused by either your bitrate being too high for your upload speed, or other devices on your home network using up your upload bandwidth. First, try lowering your bitrate by 500-1000 kbps to see if that fixes the issue. If that doesn’t work, make sure no one else on your network is uploading large files, streaming 4K video, or video calling while you’re streaming. Switching from Wi-Fi to a wired ethernet connection will also eliminate 90% of dropped frame issues, because Wi-Fi is much less stable for consistent upload speeds.
Audio desync is another common problem, where your voice or game audio is out of sync with the video. You can fix this by adjusting the sync offset in OBS’s advanced audio settings. If your audio is ahead of your video, add a positive offset of 100-300ms, and if it’s behind, add a negative offset. You can test this by clapping your hands in front of your mic and camera, then watching the recording to see if the clap sound lines up with the visual of you clapping. Test your stream for 10-15 minutes before going live to catch any issues instead of trying to fix them in front of your viewers. It’s much less stressful to work out kinks in a private test stream than it is to apologize to 20 viewers while you mess with your settings mid-game. If you run into an issue you can’t fix, don’t be afraid to push your live time back 15 minutes to troubleshoot instead of going live with a broken stream.
At the end of the day, streaming your Valorant games should be fun, not a stressful chore of tweaking settings for hours on end. Once you get the basics of how to stream Valorant on OBS down, you can slowly add extra features like custom alerts, chat bots, or more polished overlays as your channel grows. Don’t wait until you have the “perfect” setup to go live either; some of the most popular Valorant streamers started with just a basic laptop and a $10 mic, sharing their silly unrated matches with a handful of friends. The most important part of streaming is showing up consistently and sharing the parts of your gameplay that make you unique, whether that’s your terrible Jett knife plays, your super competitive Immortal ranked grind, or your funny rants about toxic teammates. You don’t need thousands of viewers to have a good time; even a small group of regular viewers who show up every stream to cheer you on makes the whole process worth it.